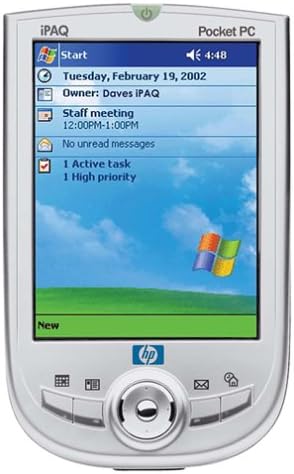
Pocket PCs, the precursor to your smartphone. They were all the rage in the early 2000’s and likewise still remain fairly popular between collectors and retro computing enthusiasts.
You can still use them for all sorts of things, basic PIM (Personal Information Management) such as calender, contacts, notes and much much more. Games of course too, who could forget Bejeweld 2, or Zuma? Or even ports for games like Age of Empires, Simcity 2000!
As a result there are many tools and programs available on many different platforms. But what if you have a problem, and there is no solution available for the thing you need done? Maybe you need a special calculator, something that sends commands via infrared? Why not just code it yourself!
Thus article will go about the things you can do and will need to get started with Pocket PC development.
The easiest route is to with .NET 3.5. It’s the most up-to-date version that will run on Pocket PCs straight out of the box and you can use the C# (pronounced See-Sharp) language to build software. There is a LOT of information and help on this language, so finding help fixing a bug or finding how to do a certain instruction will not be an issue.
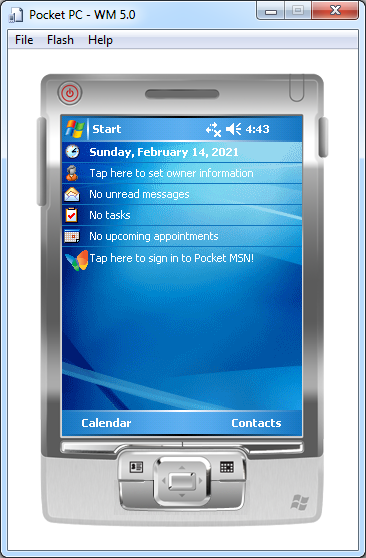
Using Visual Studio 2008, it will give you a virtual Pocket PC to work/test with, and a industry standard work environment. Lets first go over what you will need to get started:
You can use any PC, although I recommend Windows 7 x64 for compatibility and ease of use.
If need be you can use it on a VM as a testing ground. Here are a couple things you will need to get started:
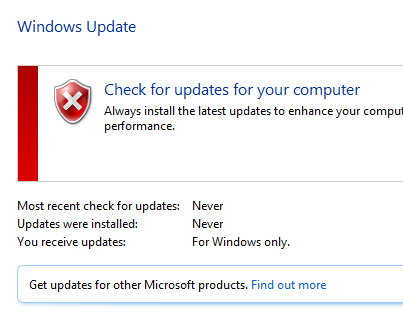
Firstly, you will want to install Windows 7. You can use Vista and Windows XP too, maybe even 10 but I dont recommend you do. Security and browsing for the older versions and Windows 10 might have compatibility issues.
In any case, you can use the downloaded ISO file (Can be grabbed here officially) to either burn a DVD, write an USB stick or open it in a Virtual Machine. To write a DVD you can use software like ImgBurn, and for USB sticks you can use Rufus.
After installing Windows 7 and making sure it is activated and fully up-to-date, you can grab the Visual Studio 2008 ISO file. You can either burn it to a DVD, or unzip it to an USB stick to install from there. You can use tools like 7-zip to extract an ISO file.
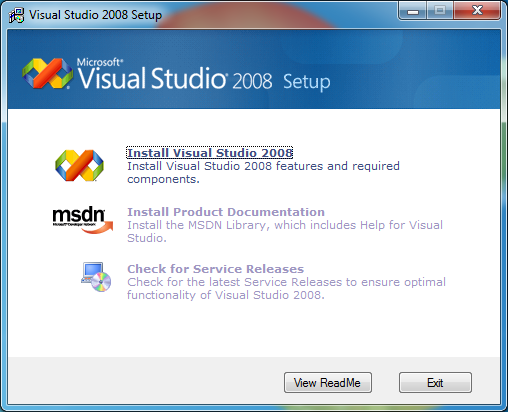
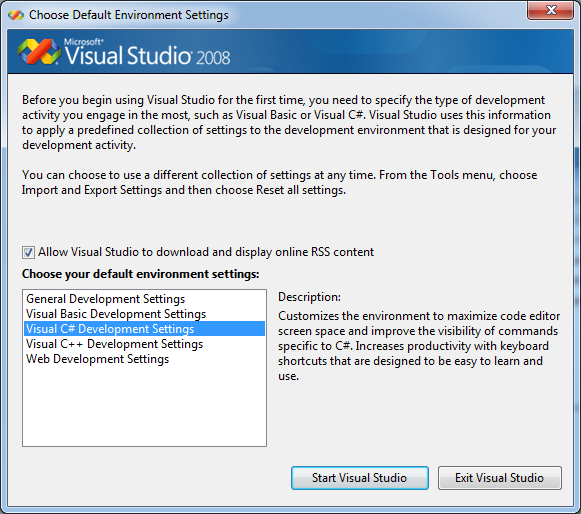
When you’re presented with Visual Studio’s setup screen, we will now follow its setup procedure and begin a project!
To begin installing Visual Studio 2008, you can either use a program like Daemon Tools to make the downloaded file a virtual CD-ROM drive, or unzip it with 7-Zip. The latter will work just as well.
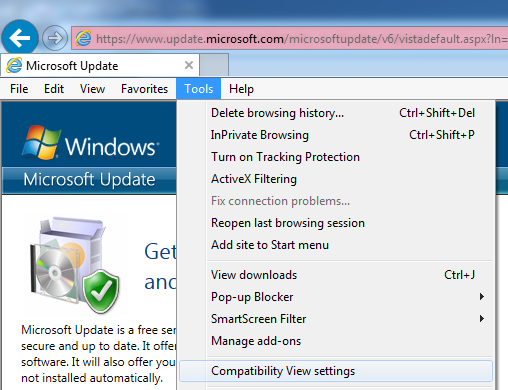
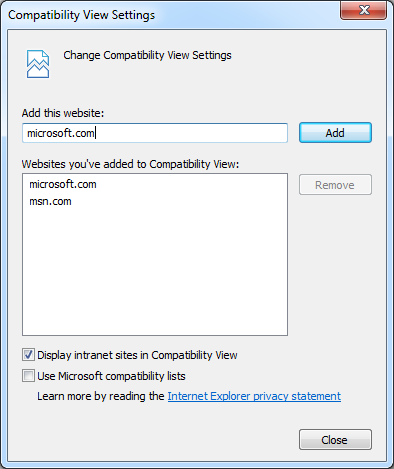
Next, open the folder or drive letter you made and click on setup.exe:
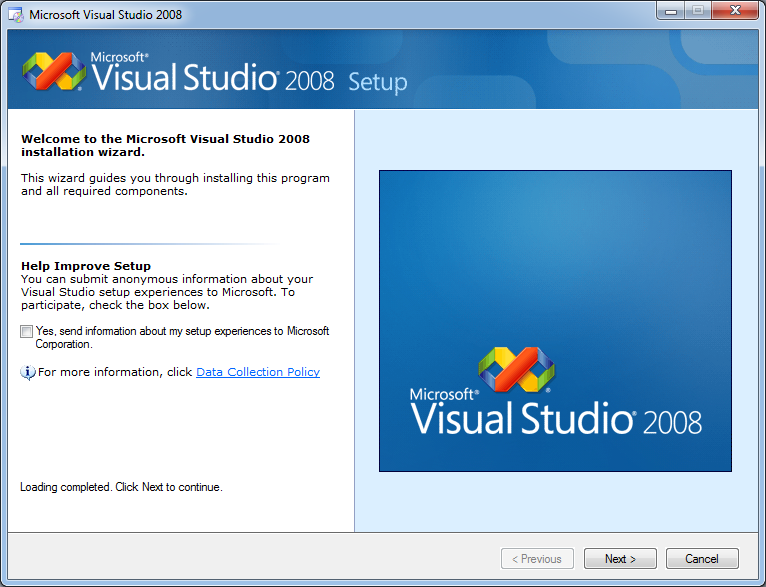
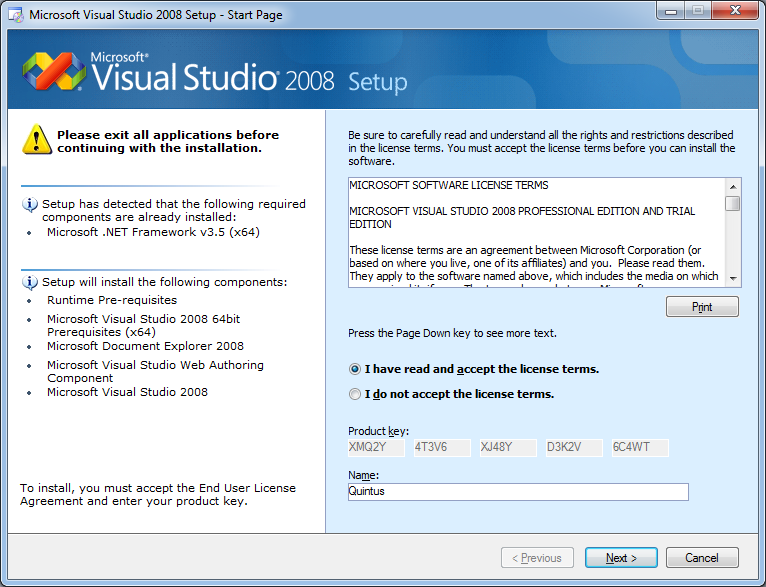
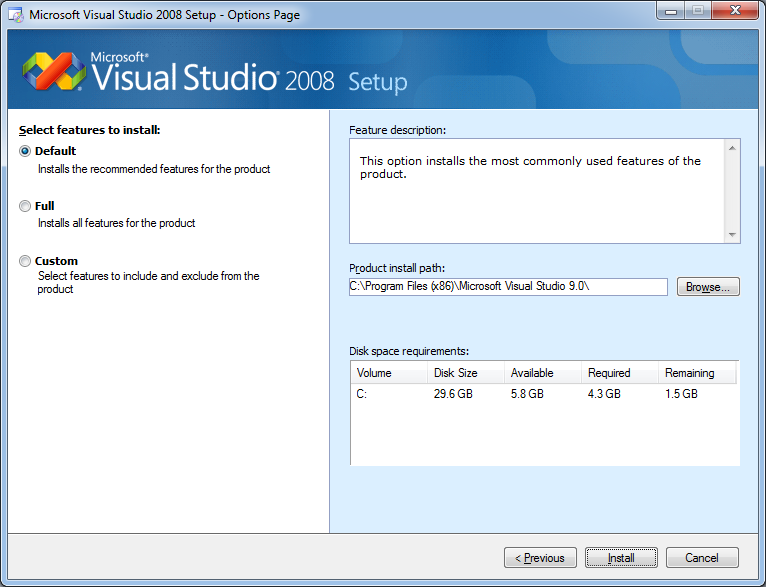
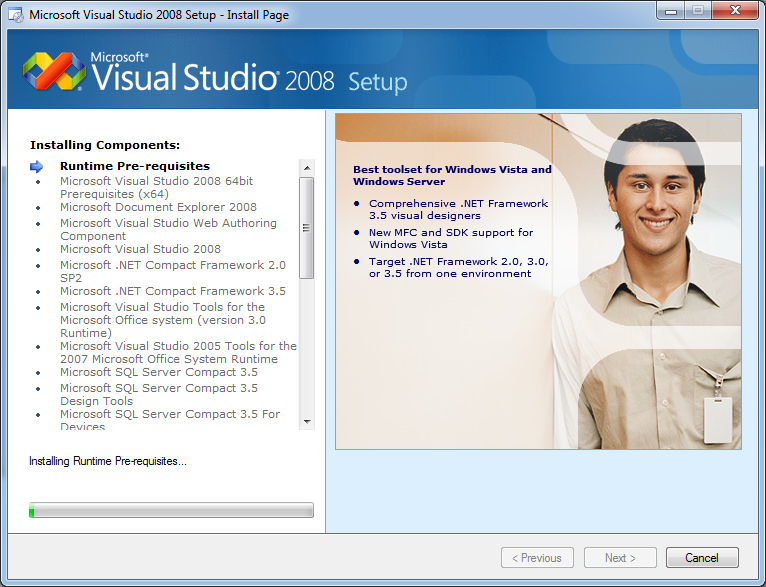
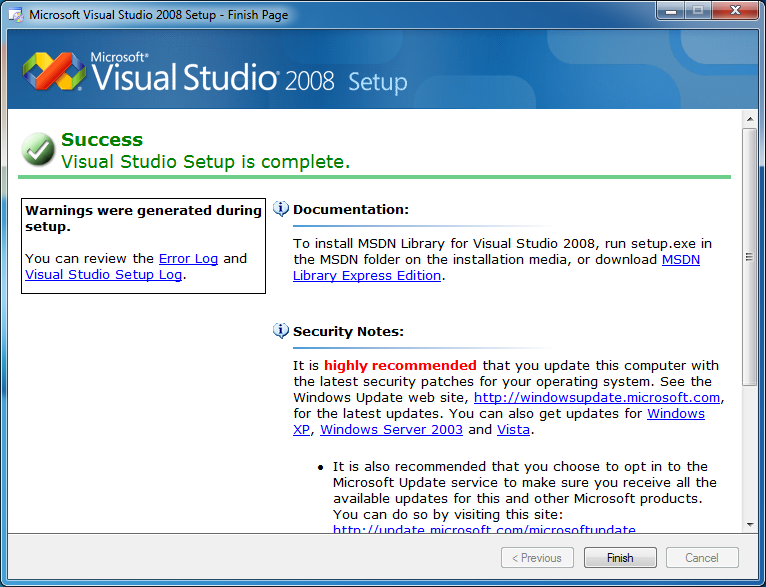
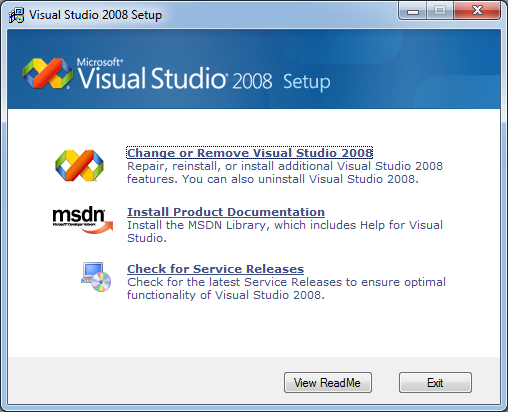
Now, let’s run down all 13 steps as shown below.
Note: You can click on the images to view them better!

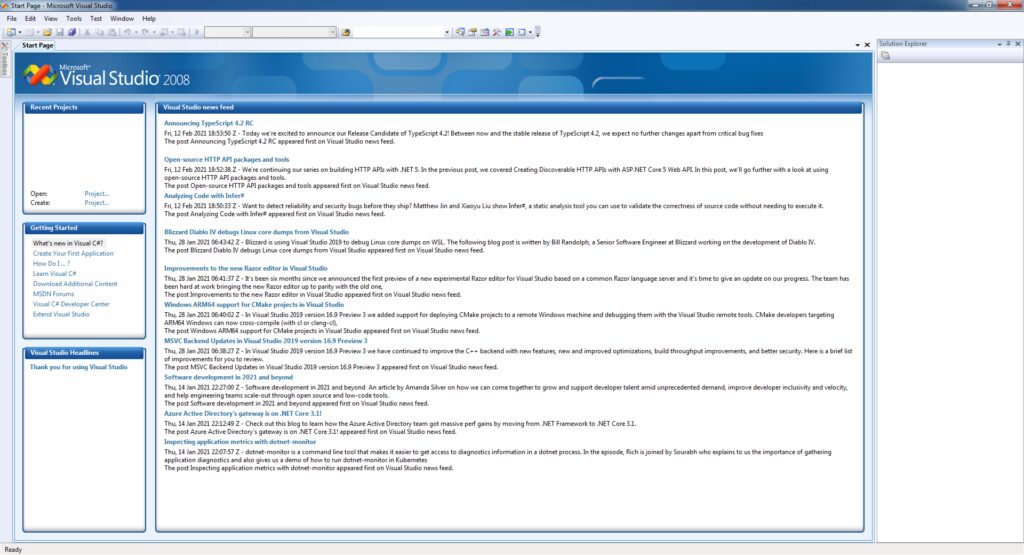
Now, we will proced to start your very own Pocket PC project!
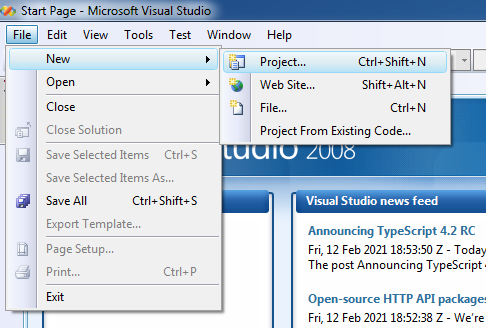
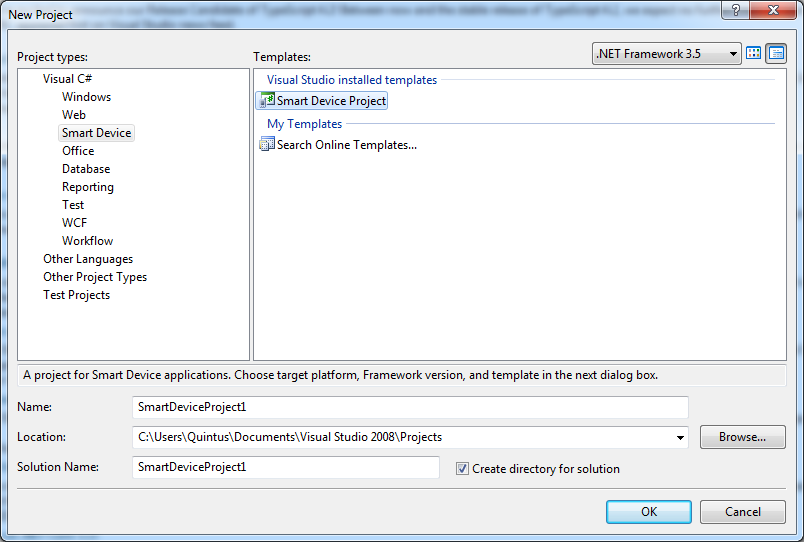
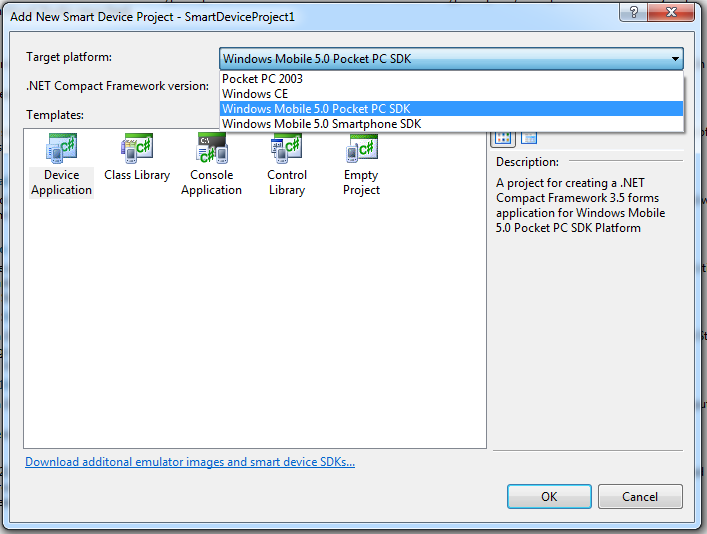
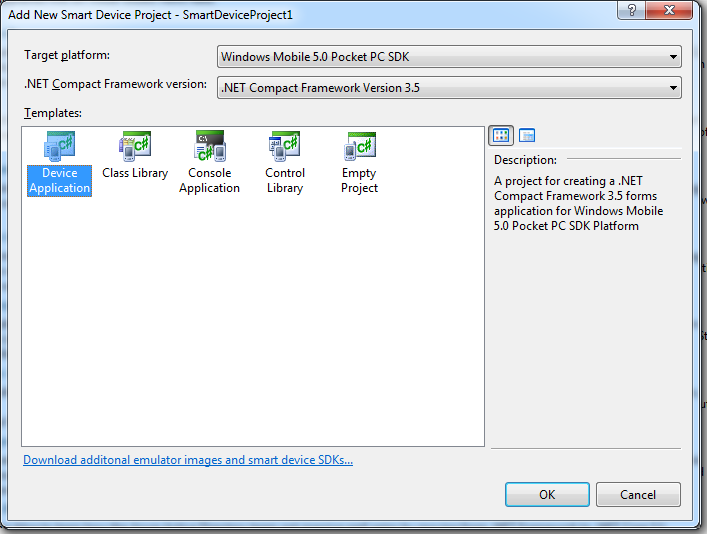

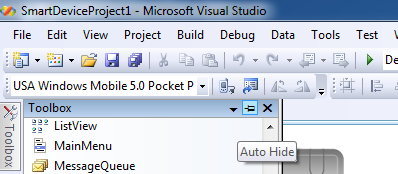
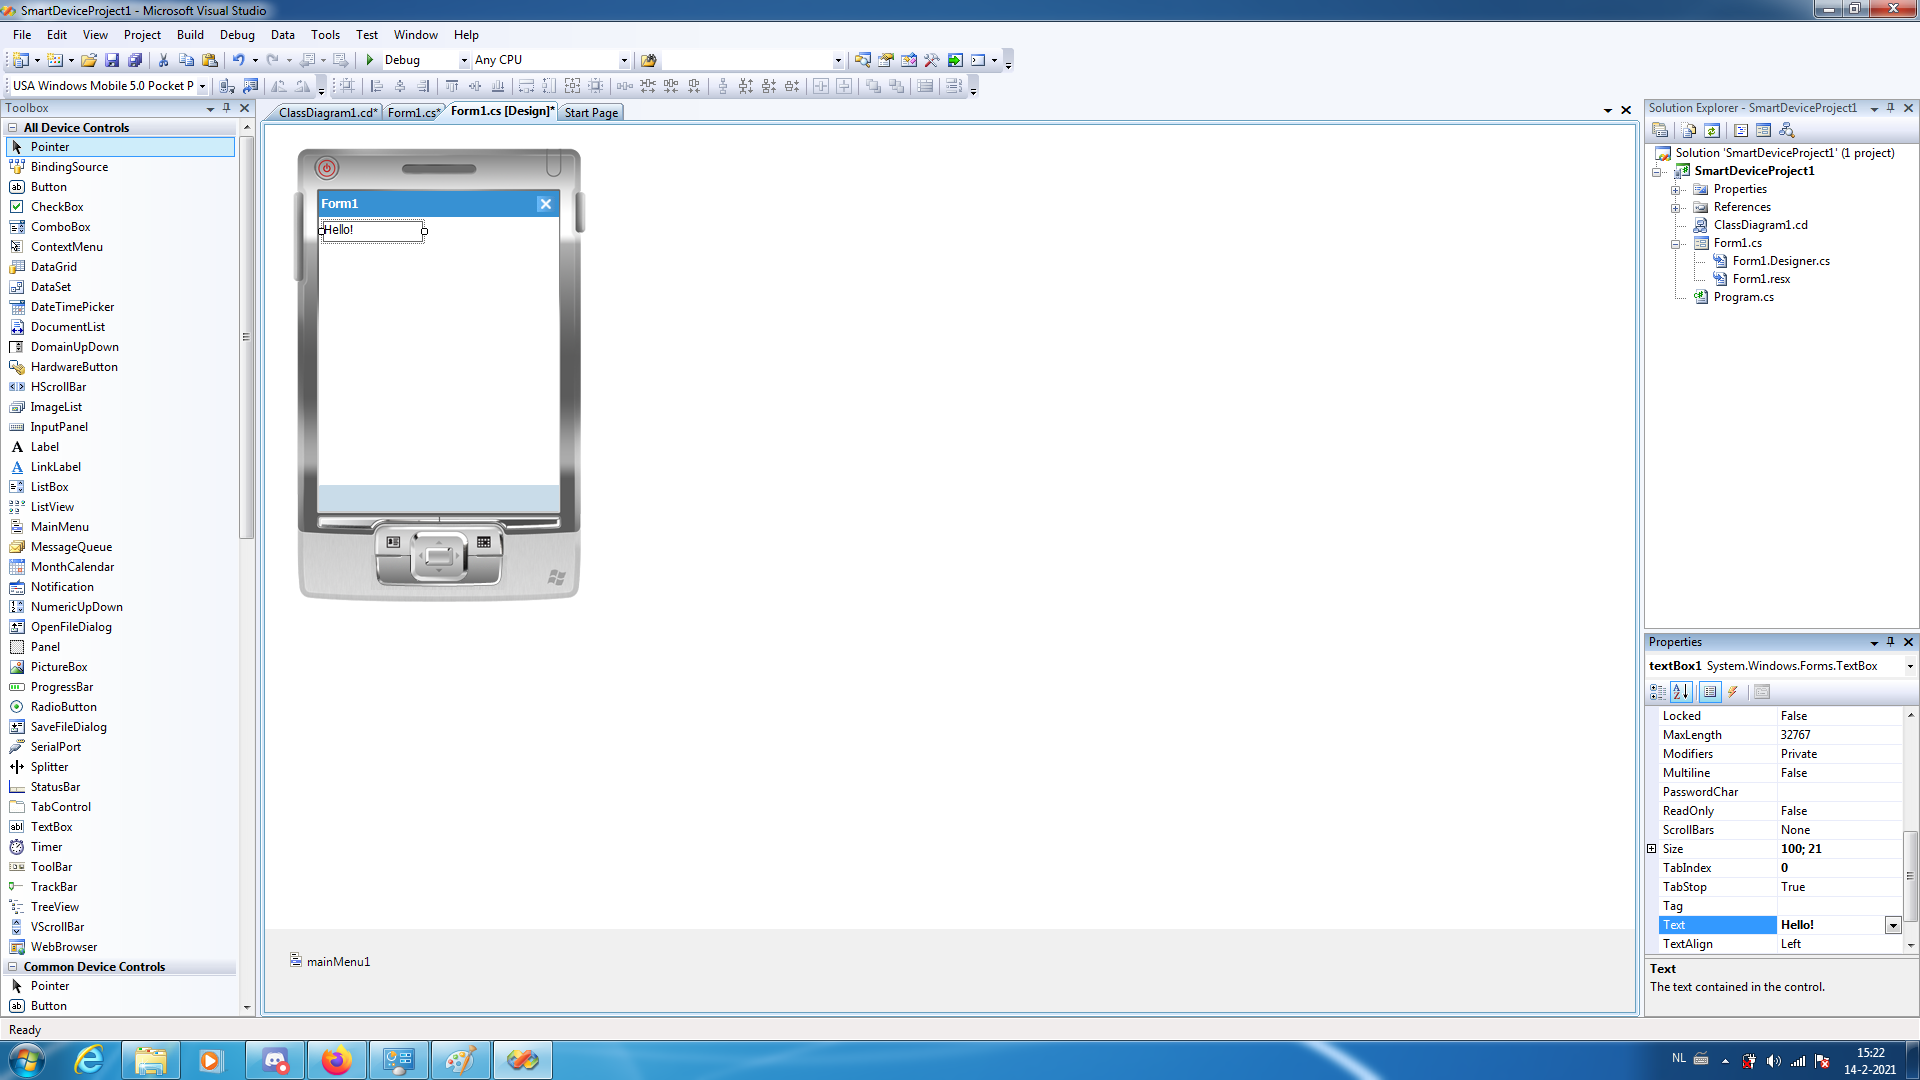
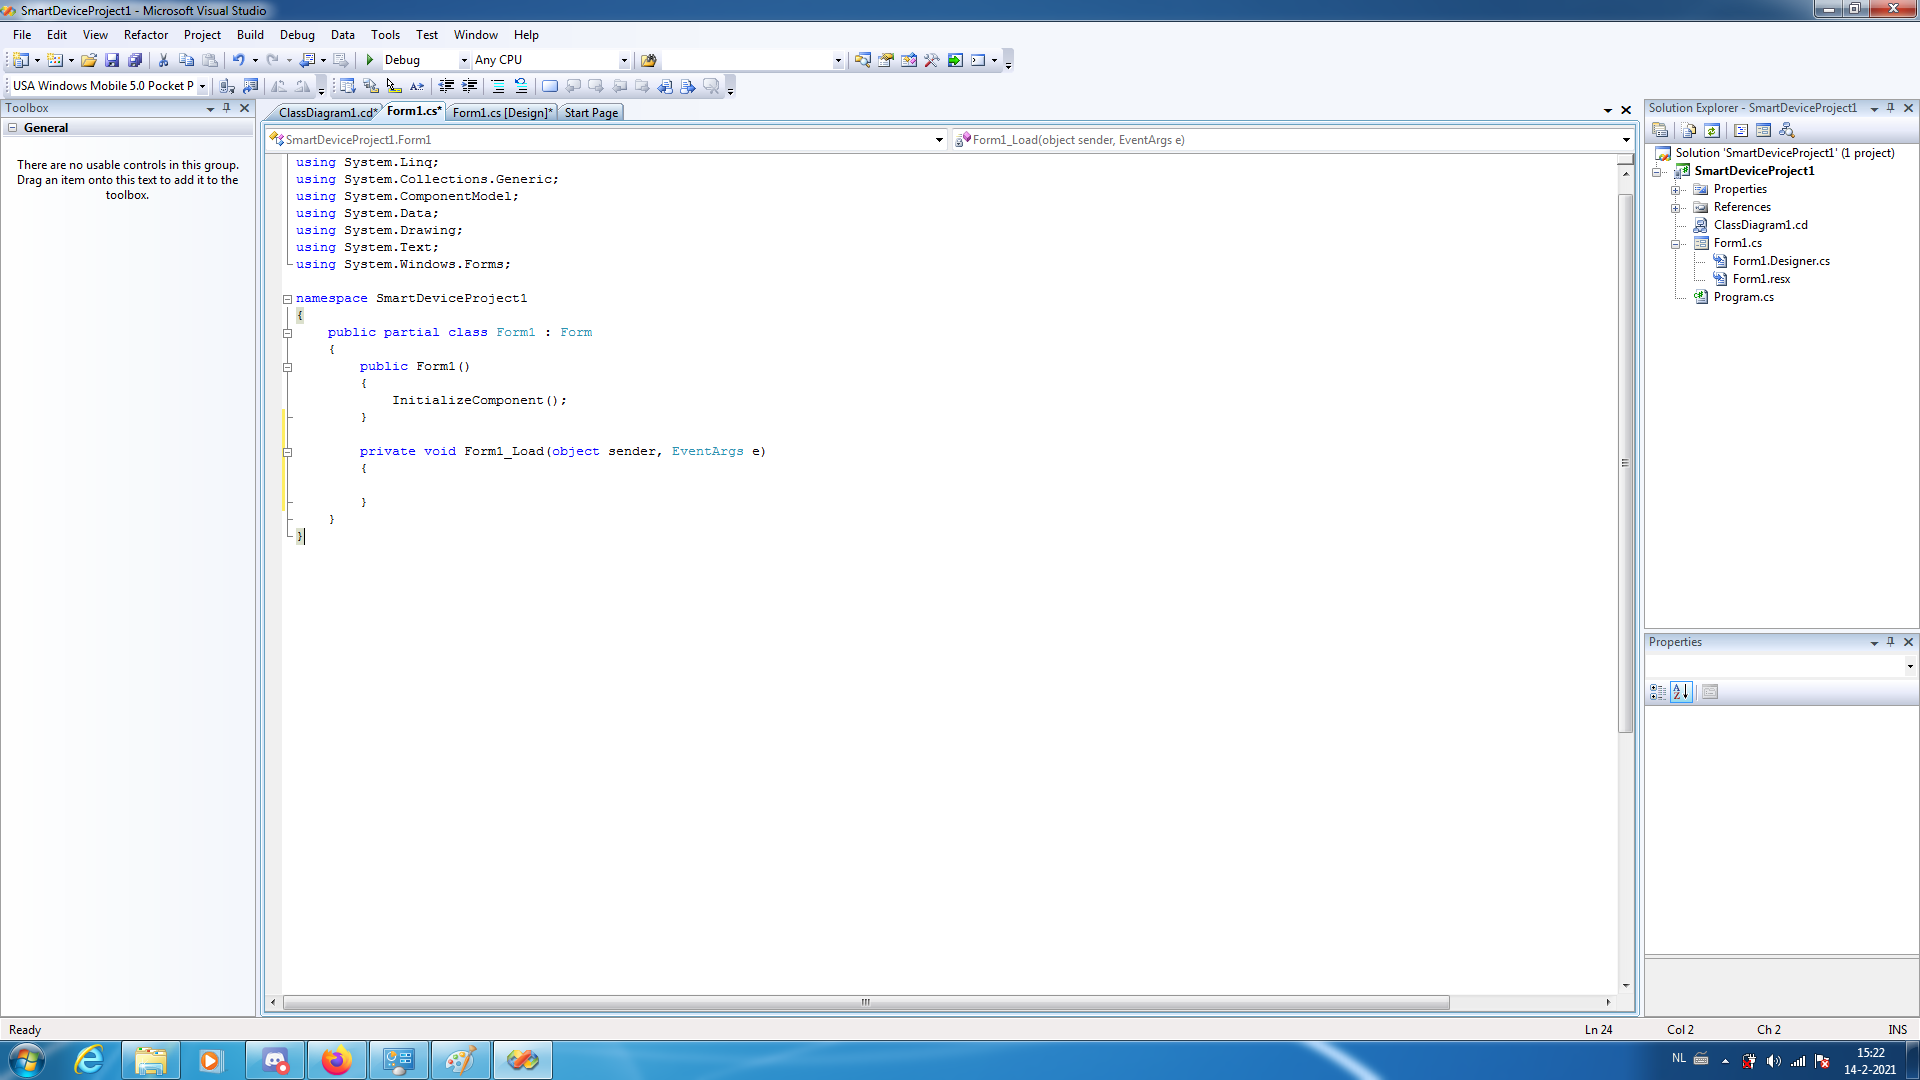
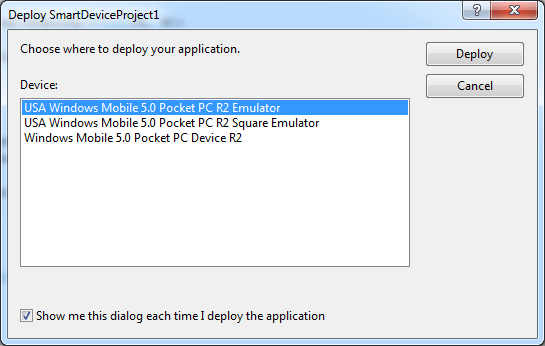
Now, lets go over how to do the above!
One tip, to skip needing to install requirements each time you need it, close your application and then close the window.
Further, Visual Studio will ask you if you want to save the ‘state’ of the device. Click yes if you do not want to wait each time you start your application for .NET to install.
And that thereabouts concludes it! In short you now have Visual Studio running and built a basic application for Windows Mobile. There are many guides on C# out there, experiment, debug and learn! The possibilities are endless.
Big tip: If you have a finished product, and want to make an installer package or add different things, you can add them to your solution. Use File, add, new project. This is not only required for cab file creation, but just keeps things tidy.
This environment will use .NET version 3.5, and its not exactly the newest so some things you can find on the internet for helping your bug or problem might not work. Of course, trial and error are the biggest parts of programming something. Search, find, test and repeat!
Lastly, to work with synchronisation and backup of your Pocket PC’s files Office 2010 32-bit or older is recommended.
To find what your Pocket PC is running if you have one, look at: This page
For creating installation packages, look at: This how-to.
Moreover for finding useful tools you can look at oldhandhelds.com.
I also recommend signing up with hpcfactor.com, the biggest Pocket PC and PDA-related website. If you need any kind of tool for your work, it is probably there!
When you are done with your application and you want to publish an installer file, look at this how-to.
If you want working modern e-mail on your Pocket PC device, take a look at E-Mail on your PDA: Setting up nPOPuk.
Most importantly; to connect a working real Pocket PC you will need to install ActiveSync 4.5 for XP, or Windows Mobile Device Center on Vista and Windows 7.
Developing for Pocket PC’s might not be of this age, but it sure is an useful introduction for a language as simple as C#.
Not all problems have a program available to fix it for you, so why not make your own? And if you have a Pocket PC, you can easily take it with you! How cool is that.
Of course, the usability is dependable and not quite up there as it used to be, but that does not mean it can’t still be a learning/fun experience. Try, fix and learn!
Windows 7, Visual Studio and all other tools are all readily available nowadays, if you want to try it out with the Emulator you can easily start a Virtual Machine and try it that way. It’s how I made my first ported applications and well before switching to a laptop for development.
I hope you enjoyed this how-to, and happy programming to all of you!